中文
中文烧录镜像
2023-12-08
更新历史
| 日期 | 版本 | 作者 | 更新内容 |
|---|---|---|---|
| 2023-12-08 | v1.0 | ztd |
|
镜像下载:
https://github.com/0x754C/sipeed-th1520-laptop-extra/releases
全量镜像
通过 typeC 口烧录
拆掉SSD后盖
找到BOOT按键和RST按键
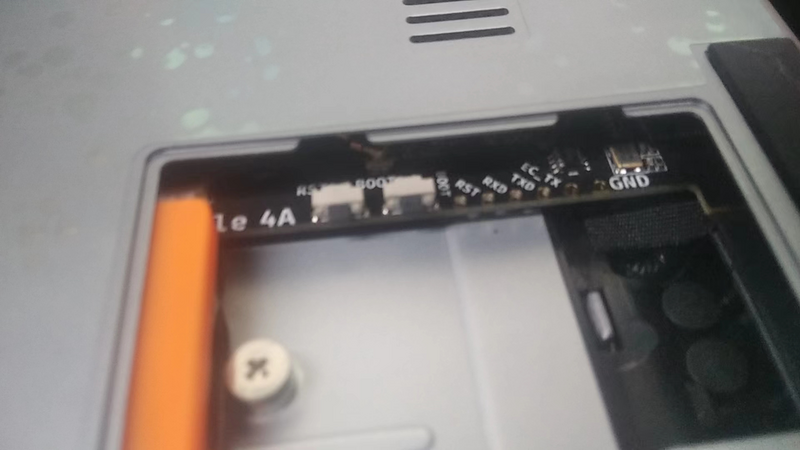
- 按着BOOT按键,然后按键盘上的电源按键开机,然后将 console 连接 typec 口到烧录镜像的 PC。

在烧录镜像的 PC 上下载用于烧录的镜像: 点我下载
执行烧录指令:
fastboot flash ram u-boot-with-spl-console.bin
fastboot reboot
fastboot flash uboot u-boot-with-spl-console.bin
fastboot flash boot boot.ext4
fastboot flash root root.ext4
- 按下 BOOT 旁边的 RST 按键重启 Console 笔记本。
通过 u-boot 进行网络烧录
console 连接网线(注意和用于烧录镜像的 PC 处于同一局域网中)
用串口工具连接 console 上的串口,上电,进入到 uboot 命令行中
console 执行 dhcp 命令分配一个 ip 地址
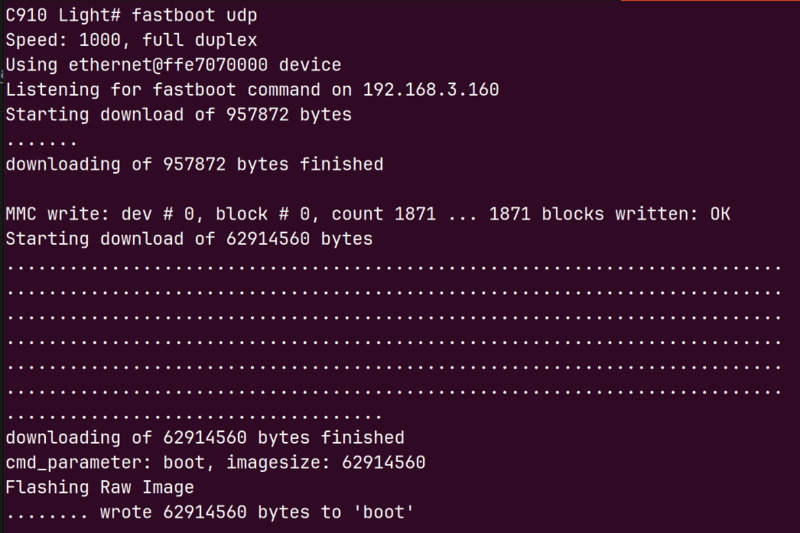
console 执行 fastboot udp 开启监听
烧录镜像的 PC 机上运行如下命令
./fastboot -s udp:board_ip flash uboot uboot-xxxx.bin
./fastboot -s udp:board_ip flash boot boot-xxxx.ext4
./fastboot -s udp:board_ip flash root root-xxxx.ext4
效果如下: