

 English
Desktop
Update history
| Date | Version | Author | Update content |
|---|---|---|---|
| 2023-12-08 | v1.0 | ztd |
|
Logging into the System
In this document, we'll use the default Debian desktop system as an example to explain basic system usage.
The default credentials for the image are as follows:
User: sipeed, Password: licheepi;
User: root, licheepi root;
The image has automatic login enabled, and the user sipeed is automatically logged in. If you don't want automatic login, you can comment out the line autologin-user=sipeed in the file /usr/share/lightdm/lightdm.conf.d/01_debian.conf.
Opening the Command Line
In the Debian graphical system of LonganPi 3H, you can open the command line terminal quickly and conveniently by pressing the key combination Ctrl + Alt + T.
Connecting to the Network
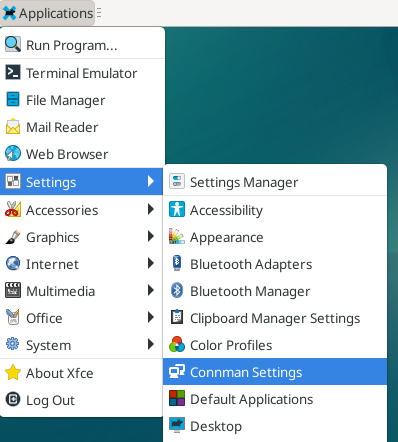
The desktop system uses ConnMan to manage network connections by default.
You can find ConnMan Settings in the application menu at the top-left corner. After clicking it, a network icon will appear at the top-right corner of the desktop. Clicking the network icon allows you to create new network connections and view network connection information:
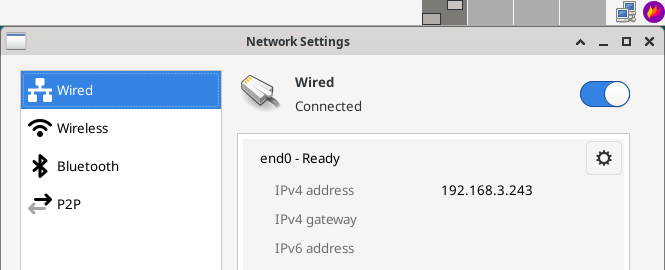
Connecting to Wired Network
In the terminal, you can enable a wired network connection and view related information using:
connmanctl enable ethernet
LonganPi 3H has a Gigabit Ethernet interface. To connect to a wired network, plug in an Ethernet cable that is already connected to the network into the network interface of LonganPi 3H. You can see the connection information by clicking the network icon at the top-right corner:
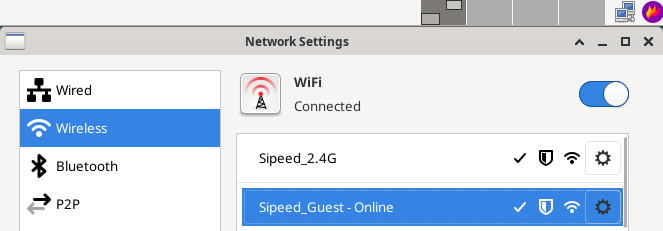
Connecting to Wireless Network
LonganPi 3H has an onboard wireless module that supports Bluetooth and Wi-Fi.
Graphical Interface Method:
Click the network icon at the top-right corner and switch to the Wi-Fi connection page. Select the desired Wi-Fi network and click "Connect":
Commandline Interface Method:
We can use connmanctl to enable wifi connections and other information:
connmanctl enable wifi
Open the command line and use wpa_supplicant to connect to Wi-Fi. The following steps need to be executed as the root user:
sudo -i
nano /etc/wpa_supplicant.conf
Create the wpa_supplicant.conf file and enter the SSID and passphrase of the Wi-Fi network:
network={
        ssid="your_wifi_name"
        #psk="your_wifi_password"
}
After filling in the information, run the following command to connect to Wi-Fi:
wpa_supplicant -D nl80211 -i 网卡名 -c /etc/wpa_supplicant.conf &
If there's no IP address, use dhcp to get a ip address:
dhclient
Connecting to Bluetooth
In the terminal, you can enable Bluetooth connection and view related information using:
connmanctl enable bluetooth
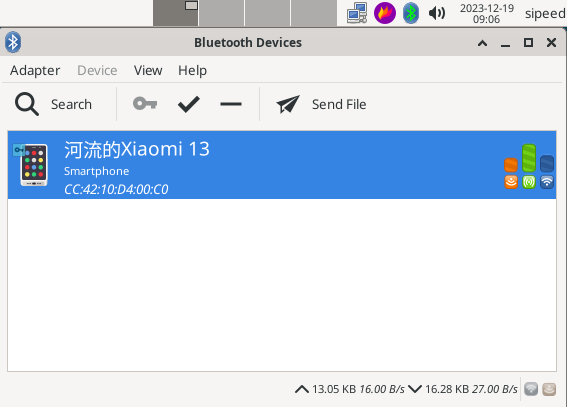
The desktop system uses blueman to manage Bluetooth connections by default.
Find the Bluetooth icon at the top-right corner of the desktop and make sure that Bluetooth is turned on. If it's not, right-click the Bluetooth icon to turn it on:
![]()
After turning it on, left-click the Bluetooth icon to see the Bluetooth device scanning interface.
Click the "Search" button in the top-left corner of that interface to search for Bluetooth devices. Make sure that Bluetooth devices such as keyboards, mice, and headphones are in pairing mode and can be discovered.
Right-click the desired device and select "Connect" to establish the connection. After a successful connection, you can also right-click the device and click "Trust" to enable automatic connection in the future.
If the Bluetooth graphical management interface cannot find devices, you can use bluetoothctl in the command line interface to pair devices. The steps are as follows:
bluetoothctl
scan on
# Find the MAC address of the device you want to pair with
pair MAC_address_of_target_deviceconnect
connect MAC_address_of_target_device
Software Installation
After connected to the network, you can update and install software packages.
Software Sources
In Debian, apt (Advanced Packaging Tool) can be used to install software.
When installing software, it will search and download the target software from the system-specified software website. When the target website is difficult to access (such as the server is too far away or the server network is not good), you can manually set up and edit the software source website to change it to the nearest source to reduce the download time.
The default software source is the content of the /etc/apt/sources.list file, which can be changed by yourself if there is additional need.
Upgrading Software
Using sudo apt update can update the software list, which is generally needed after changing the software source.
Before using this command, use the date command to check the time. If the system time is wrong or there is no automatic update time after connecting to the network, you can update it manually to ensure that the software package in the software source is the latest version:
sudo date -s "20230717 12:00:00"
Then you can update the software named package_name with sudo apt upgrade package_name.
Install
Software can be installed with the apt command;for example, sudo apt install package_name to install package_name, replacing package_name with the name of the software package you want to install.
SSH
If you don't have ssh or sshd in your image, you can install them first with the following command:
sudo apt install ssh openssh-server
Once installed, you can use ssh to log in to other machines or log in to the LicheePi 4A from other machines.
You can also use scp to transfer files:
scp demo.zip sipeed@192.168.1.9:~/
Input Languages
If you need to input non-ascii characters, you need to install input languages. Here I use Chinese input language as an example, please find related tutorials for other languages.
First, install ibus-libpinyin:
sudo apt install -y ibus-libpinyin
Note that this will consume about 200MB of disk space
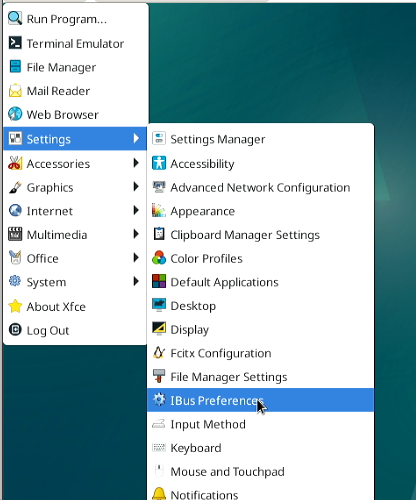
After installation, reboot the board, you will see the IBus Preference option under Applications, click to enter the settings.
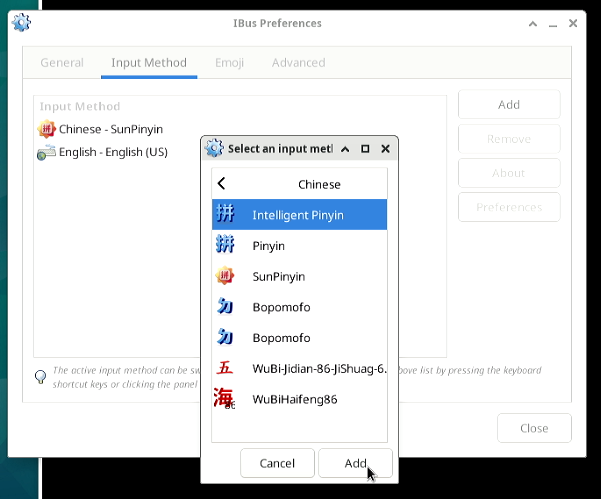
Click Input Method in the appearing interface, click Add, select Chinese, select Intelligent Pinyin, click Add to add Chinese Pinyin input method.
Click the input icon in the upper right corner, you will see the following options, select Chinese - Intelligent Pinyin.
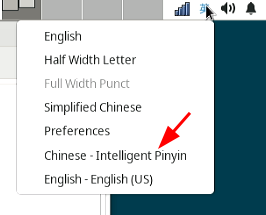
At this point, you can input Chinese successfully in the system.
Browser
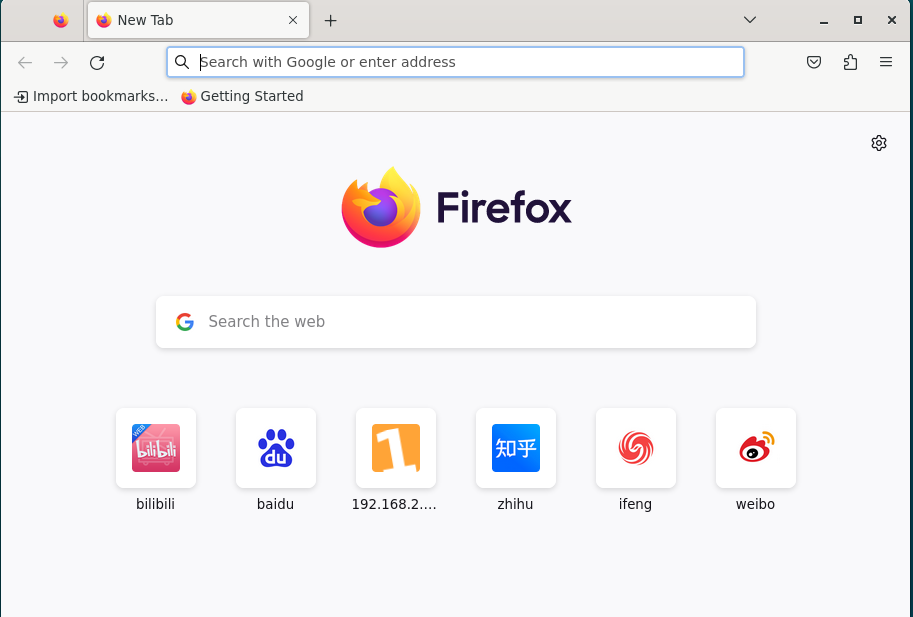
The system has built-in Firefox browser, which can be used by clicking the browser icon at the bottom of the desktop:

The effect is as follows:
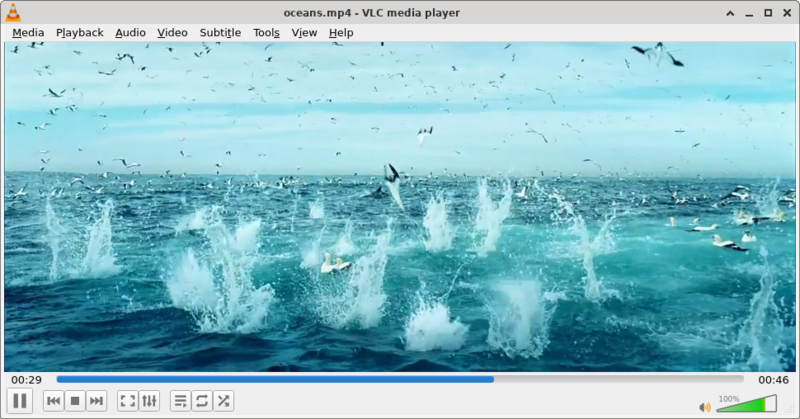
Player
You can install the VLC player by using the command:
sudo apt install vlc
After installation, the video playback effect is as follows:
Programming Development
Python
The python3 environment is installed in the system, so you can run python3 directly in the terminal:
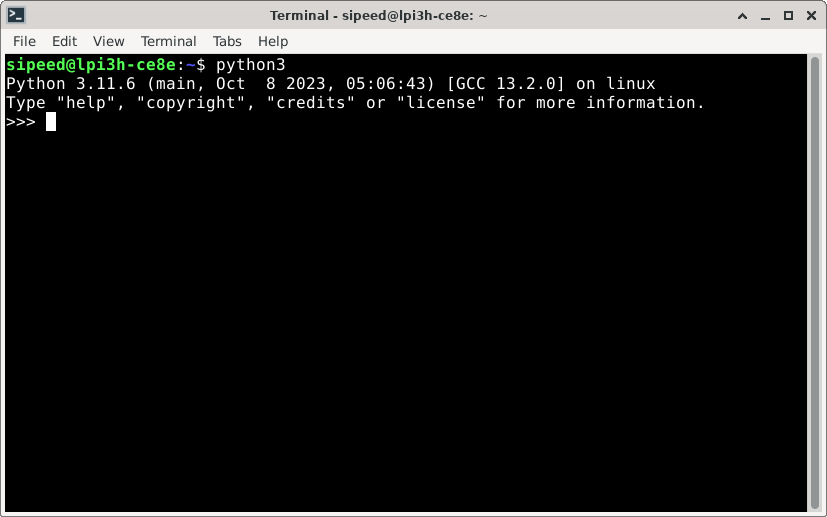
If you need to install Python packages, use: sudo apt install python3-XXX
For example, to install the pyserial package: sudo apt install python3-serial.
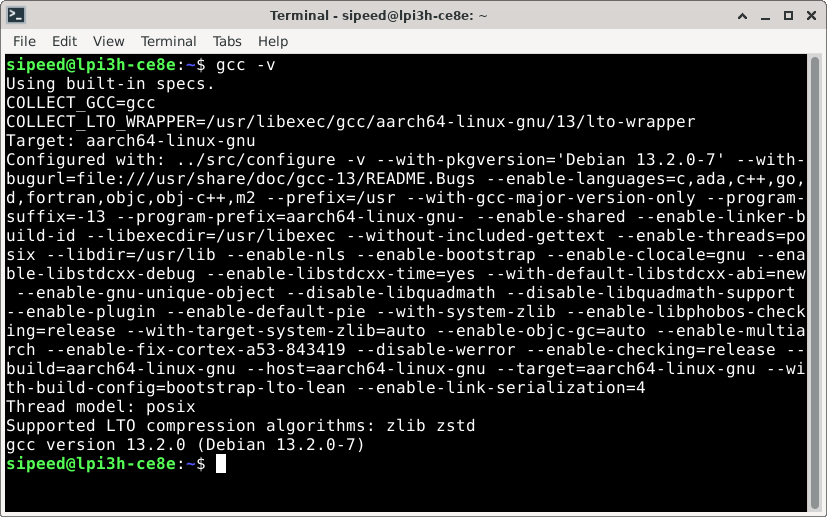
C
The build-essential package needs to be installed, which takes up about 800MB of disk space.
sudo apt install build-essential
Then you can use gcc to do the relevant operations:
More
Welcome to submit your submissions! You can get ¥5~150 ($1~20) coupons after your submissions are accepted!
