

 English
Tang Retro Console
Update history
| Date | Version | Author | Update content |
|---|---|---|---|
| 2025-04-17 | v0.1 | Serika |
|
Product Overview
- Release Date: Late-April 2025
Pre-order Link: Click Here(Pre-order has ended, retail version coming soon)- Development Board Documentation: Click Here
- Tang Core Developer Documentation: Click Here
Board Features
Click for Details
Supports multiple Tang Core emulator cores:
- NESTang - Nintendo Entertainment System
- SNESTang - Super Nintendo Entertainment System
- GBATang - Game Boy Advance
- MDTang - Sega Genesis/Mega Drive
- SMSTang - Sega Master System
- More cores are under development and will be released soon
Onboard BL616 MCU
- Runs TangCore firmware for BL616
- Supports quick emulator core switching
uSD card storage support(currently under debugging)- Supports USB OTG (currently requires OTG adapters or hubs with power pass-through)
- USB OTG Storage (for storing game ROMs, emulator cores, and emulator BIOS)
- USB HID Controller Support
- Can be used as an FPGA debugger
Two onboard USB-A ports for direct connection with compatible USB controllers
Supports DS2 controllers (requires PMOD_DS2x2)
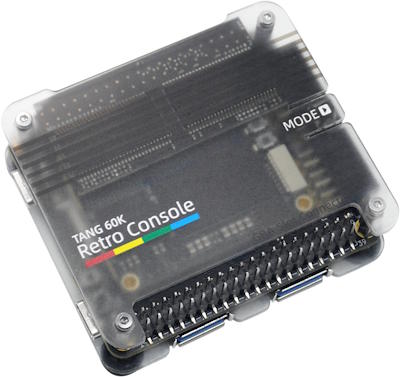
Product Appearance
Click for Details
Tang Retro Console Premium (60k version)
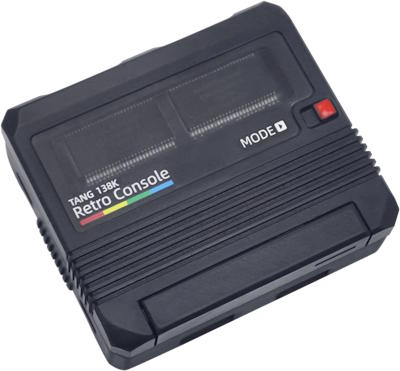
Tang Retro Console (60k version)
Block Diagram
Click for Details
Here we take 60k SOM as an example, and the same is true for 138k


Hardware Specifications
Click for Details
SOM Specifications
Please refer to the following links based on the installed SOM:
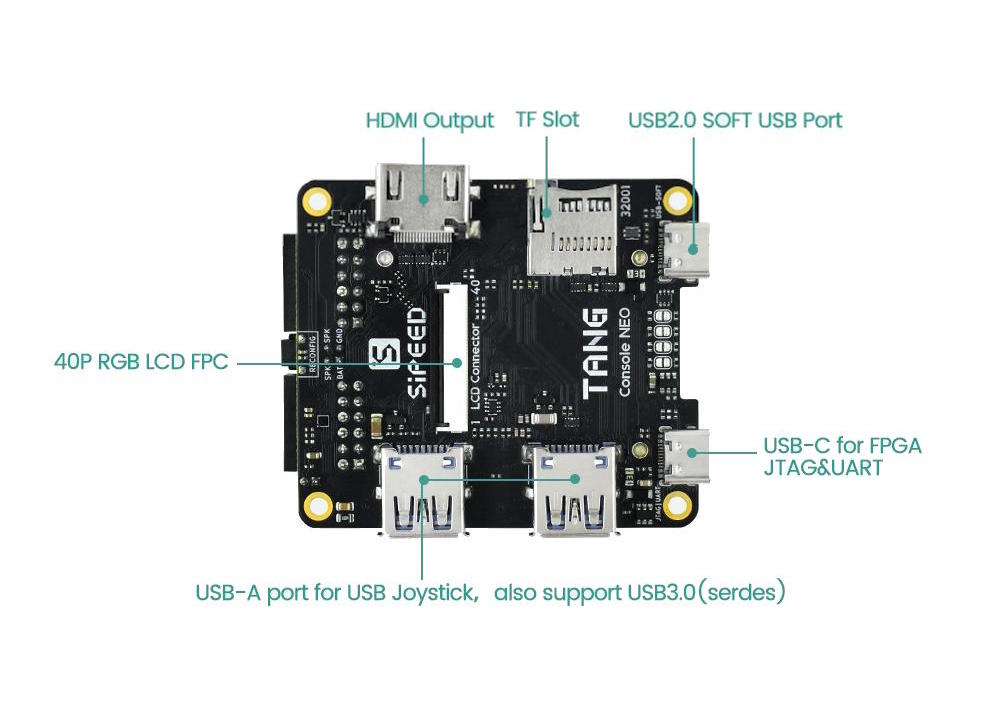
Baseboard Specifications
- Please refer to the Development Board Documentation: Click Here
Getting Started
Using the Tang Retro Console as an example, here’s how to play games with the Tang Console:
Preparation
Items needed:
- Tang Console, either 138k or 60k version
- USB 2.0 drive, or SD card + card reader (Recommended format: FAT32/exFAT, ≤32GB)
- USB-C OTG adapter with power pass-through (Recommended: USB-C card reader included in the bundle)
- Available GBA BIOS (gba_bios.bin)
- Latest TangCore Release Package
- Game ROMs you want to play (Demo games are preloaded on the uSD card included in the Tang Retro Console Premium bundle)
Installing MCU Firmware
For users who purchased any Tang Console bundles, this step is not necessary, as it has been pre-installed at the factory.
If firmware updates are needed in the future, please refer to the guide here: Click Here
  📁 /
  ├── 📁 cores/        # `cores` directory from release
  │    ├── 📁 console60k/
  │    └── 📁 console138k/
  ├── 📁 nes/          # .nes rom files
  ├── 📁 snes/         # .smc/.sfc files
  ├── 📁 gba/
  │    └── 🗎 gba_bios.bin  # GBA BIOS
  ├── 📁 genesis/      # .bin/ files
  └── 📁 sms/          # .sms files
⚠ Console will filter the suffix of the game ROM, please be sure to change the game ROM to the corresponding suffix ⚠
Storage Media Content
The contents of the storage media are not differentiated between the 138k console and the 60k console. However, the gba_bios.bin must be downloaded by the user and added manually.
Place the game ROMs you wish to play into their corresponding directories.
Hardware Assembly
❗Note: Please assemble all accessories before connecting the power!
Early Bird Ver. Recommended Method (All accessories for this method are included in the Tang Console Retro Premium package):
Left: USB-OTG card reader + USB-C power supply | Bottom: USB controller P1 | Top: HDMI output
Pros: Simple to setup.
Cons: USB controller connection may be unstable in this configuration.
If the USB controller is not recognized (especially after switching emulator cores), users may need to repeatedly reconnect the USB controller several times.
*Retail Ver. of Tang Console does not need to use OTG card reader, just insert the uSD card into the built-in card slot. Because the built-in card slot of Retail Ver. is connected to BL616 through a MUX.*
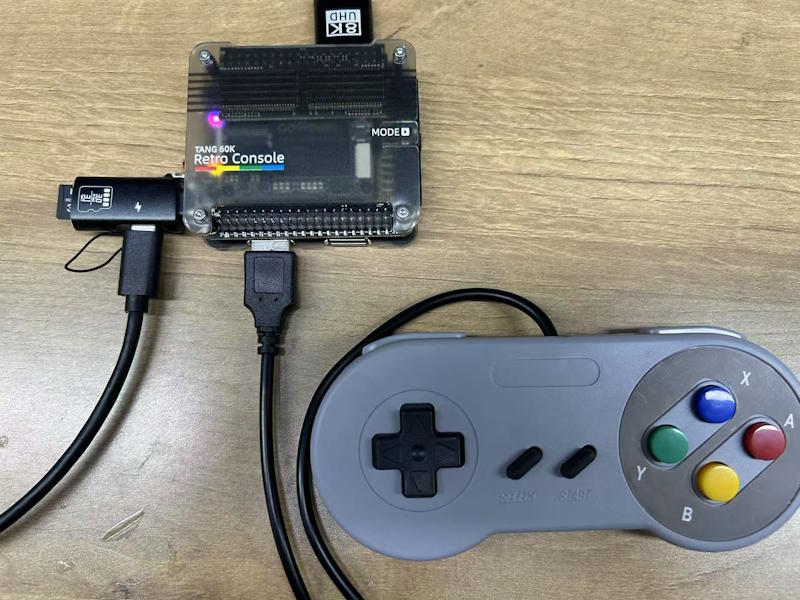
Recommended Method for Retail Version
Click to View Details
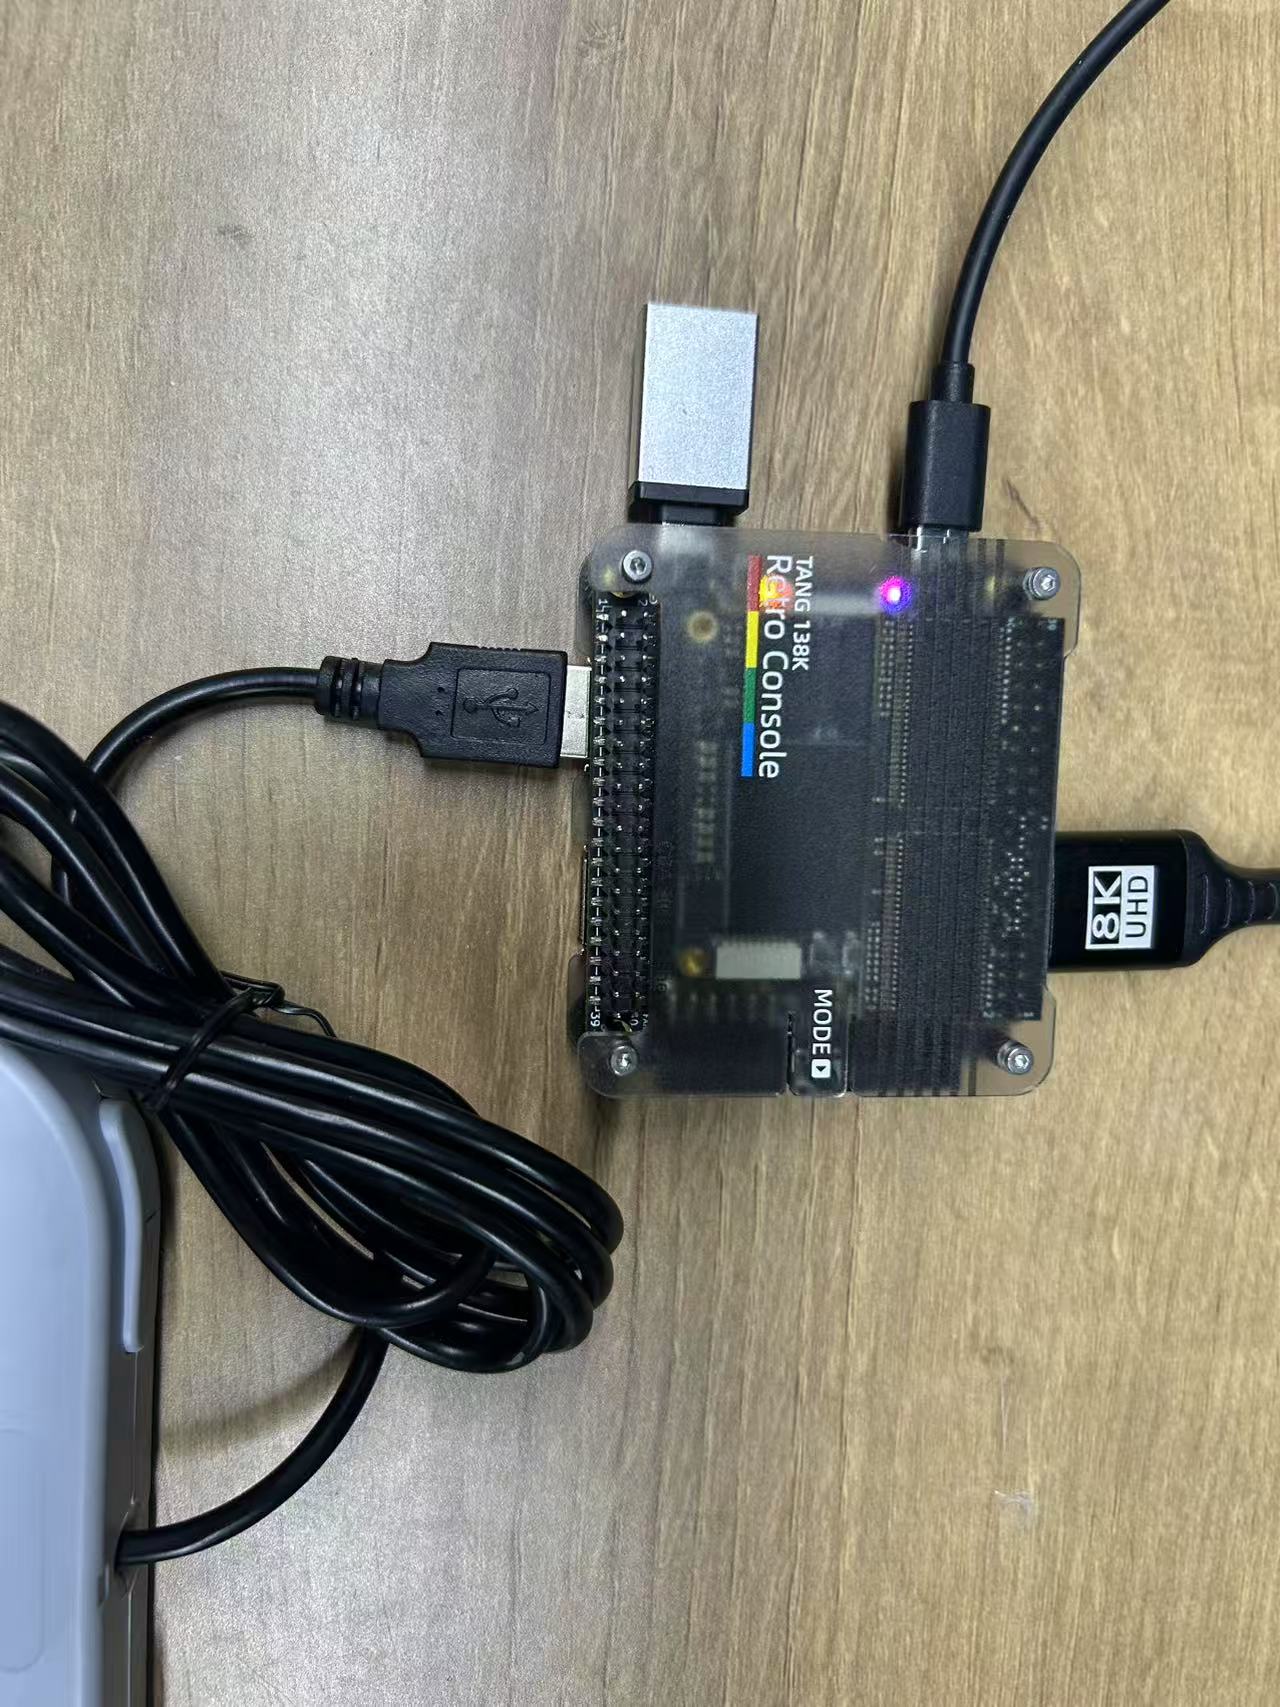
Bottom Left: USB-OTG | Top Left: USB-C Power Supply | Bottom: USB Controller P1 | Top Right: HDMI Output
Pros: MOST Simple setup.
Cons: USB controller connection may be unstable in this configuration.
If the USB controller is not recognized (especially after switching emulator cores), users may need to repeatedly reconnect the USB controller several times.
The controller can be connected directly to the Console's USB port or via USB-OTG to the BL616.
USB OTG is not necessary to assemble, depends on your use.
The nand2mario Method
Click to View Details
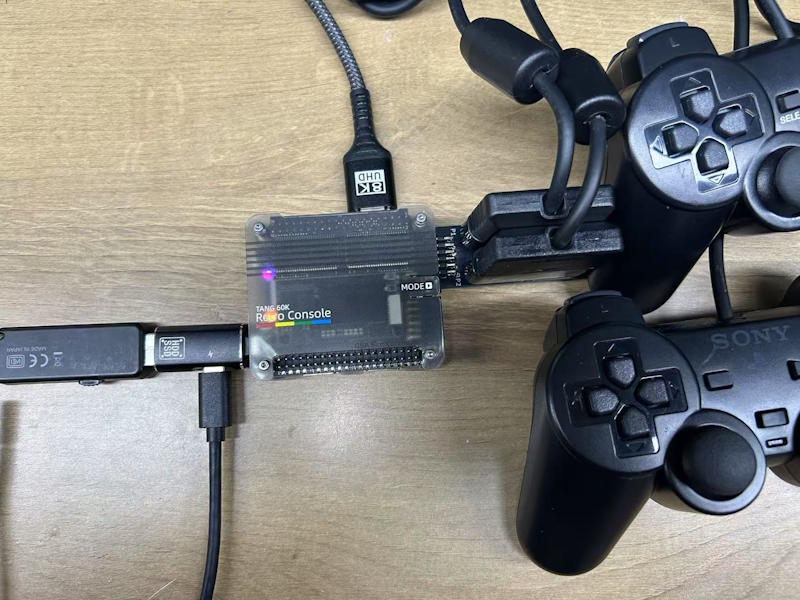
Left: OTG USB drive + USB-C power supply | Right: DS2 PMOD + DS2 controller | Top: HDMI output
Pros: Stable configuration.
Cons: Bulky setup.
For a more compact connection, try using a wireless DS2 controller and replacing the USB drive with a smaller one.
USB OTG HUB Method {#USB_OTG_HUB}
Click to View Details
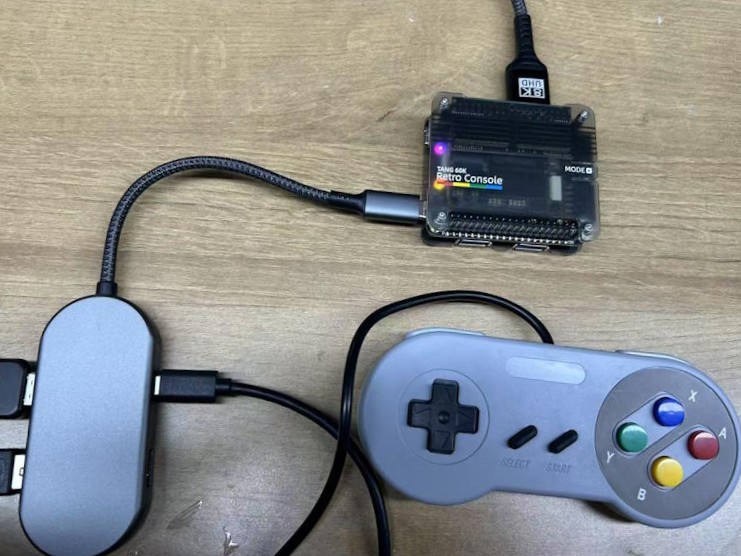
Left: USB-C OTG HUB + USB drive + USB-C power supply + USB controller P1 | Top: HDMI output
Pros: Stable connection.
Cons: Bulky setup & potential USB HUB compatibility issues.
Tested USB HUB compatibility list: Click Here
Powering On & playing
Assemble the hardware as described in the previous step, then connect the power supply.
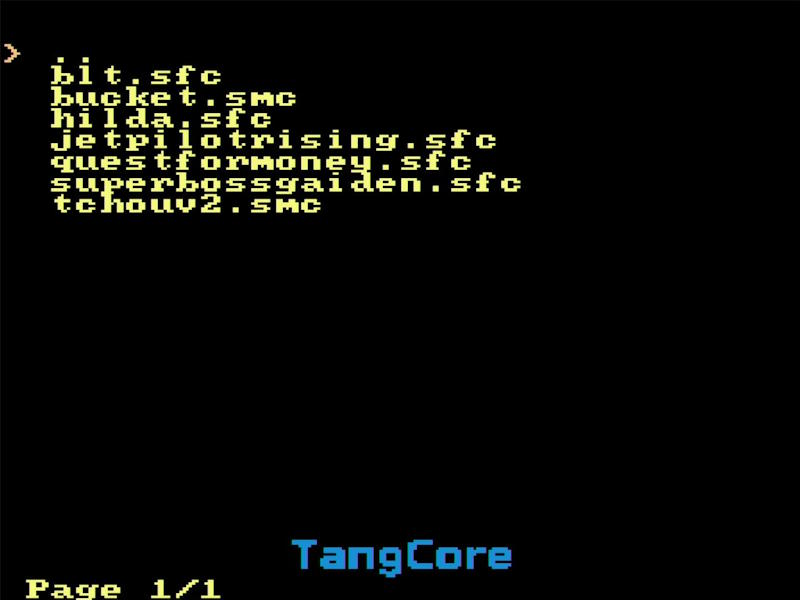
Wait a moment for the main menu to appear.
Click to View Details
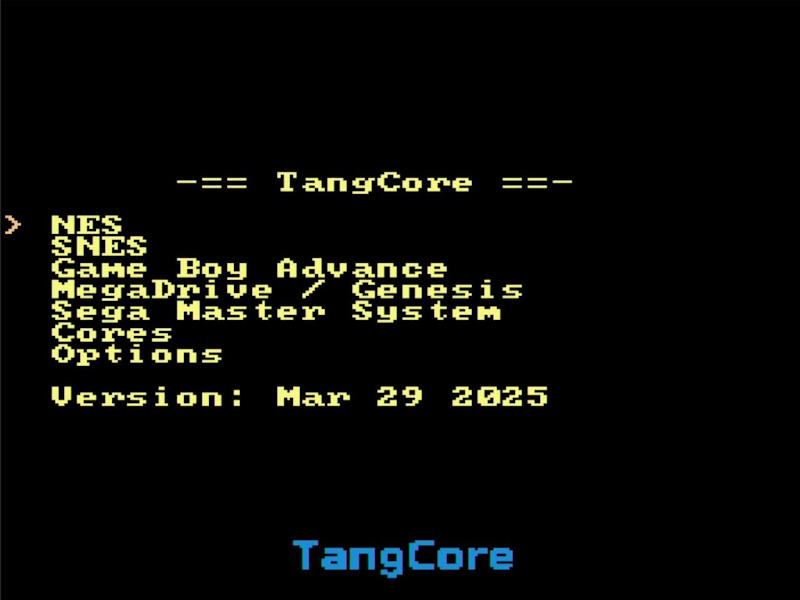
Use the game controller to navigate the menu:
- Move the cursor up and down.
- Use left and right for page navigation.
- Press
Bor3to confirm. - Press
Aor2to go back. - Navigate cursor to on
.., pressBto return to the previous menu.
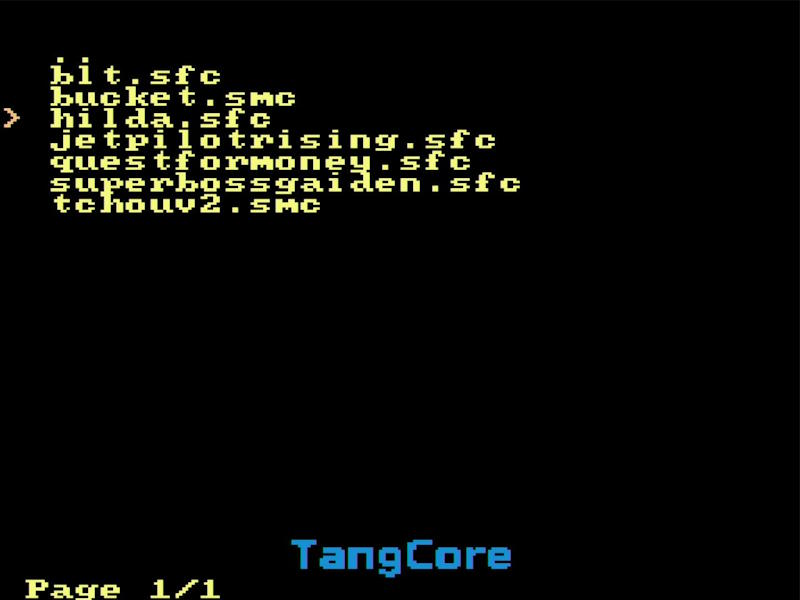
Click to View Details
Select an emulator title, such as SNES, press
Bto access the submenu, select the game ROM you wish to play, and pressBagain to launch the game.Click to View Details
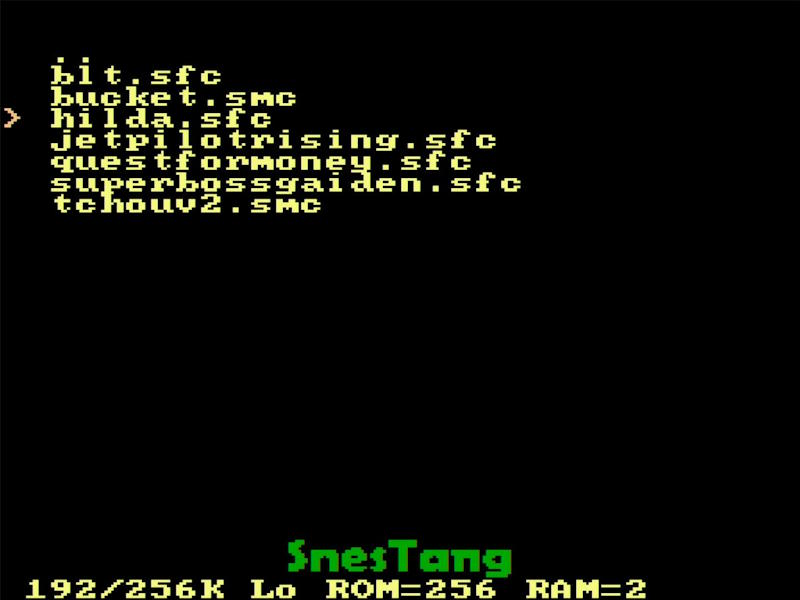
The HDMI output will briefly disappear. After a short moment, the ROM loading screen will appear, and the title at the bottom of the screen will switch to the corresponding emulator's name (e.g., SnesTang in this example).
Click to View Details
Wait for the ROM to finish loading, then press the
startbutton to begin the game.Click to View Details

During gameplay, press
→+selectto return to the main menu.Some game ROMs may not be fully compatible with the emulator. If issues arise, power cycle the console to reset it.
Additional Resources
Original Installation Documentation: Click Here
Special Thanks: fjpolo | harbaum | nand2mario | pgate1
Ranking in no particular order
Contact & Support
For technical support and business inquiries, please contact us via email: support@sipeed.com
- Reddit : reddit.com/r/GowinFPGA/
- Telegram : t.me/sipeed
- Discussion forum: maixhub.com/discussion
- Discord: https://discord.gg/V4sAZ9XWpN
- QQ discussion group: 834585530
- Leave a message directly below this page
- Goto GitHub project page and submit issues
- Business email : support@sipeed.com
Important Notes
| Item | Details |
|---|---|
| Power Supply | Use a power adapter with at least 5V/2A. Avoid exceeding +5.5V or dropping below +3.4V. |
| Static | Avoid static discharge on the PCBA. Ground yourself before touching. |
| Voltage | Ensure GPIO pins are at 3.3V levels; higher voltages can damage the PCBA. |
| FPC Connector | Insert FPC cables carefully. Ensure the 1st PIN direction is correct. |
| Connecting | Only handle connections with the device fully powered off, except USB-A controller and drives. |
| USB Controller | If the controller is unresponsive, reconnect several times. |
| Short Circuits | Avoid liquid or metal contact with the PCBA during power-on to prevent damage. |
FAQ
USB Controller Not Responding
Click to View Details
- This is a known issue in tangcore version
0.8, please unplug and replug the USB controller, then try again. - The stability issue with USB-A controllers connected to the front of the Console will be resolved in future firmware updates.
- The most stable connection method currently is the PMOD DS2 controller.
- Please pay attention to the silkscreen mark on the USB port. The USB port on the right is marked as P2. Some games can only be operated with the P1 controller(The same applies when using a DS2 controller).
UI Disappears After Pressing the MODE Key
Click to View Details
- This is a known issue in tangcore version
0.8, and will be resolved in future firmware updates. - If the cursor
>is still visible, try using the controller to navigate pages or return to the previous menu to force a UI refresh.
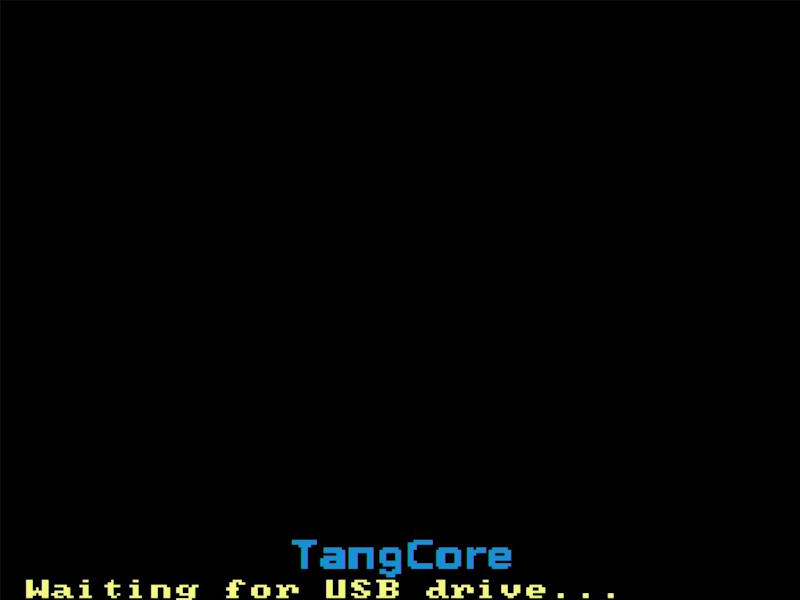
"Waiting for USB drive..." Message After Powering On
Click to View Details
If using a USB HUB, this might indicate HUB incompatibility.
Ensure the USB drive/card reader is properly connected.
Make sure the USB drive/card reader is ≤32GB and formatted as FAT32/exFAT.
GBATang Error: Cannot find /gba_bios.bin...
Click to View Details
This indicates that the
/GBAdirectory on the USB drive or storage card is missing the original GBA BIOS, which may cause compatibility issues with certain ROMs.Due to copyright restrictions, we cannot provide this file. You need to obtain the
gba_bios.binyourself and place it in the correct location.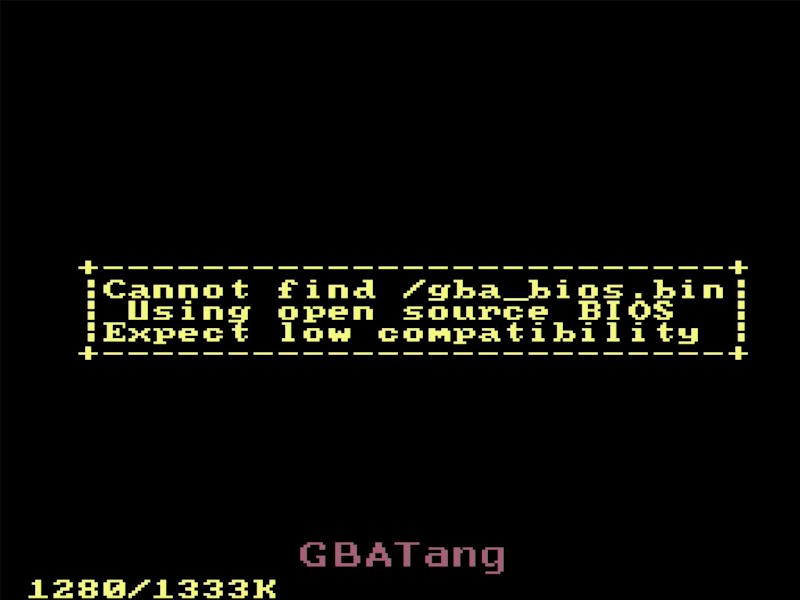
The *Options* option in the main menu screen is inaccessible
Click to view details
- This is because nand2mario has not yet implemented this functionality in tangcore version
0.8&0.9. - This feature will be gradually implemented in future updates.
For More Questions
Refer to the Troubleshooting page in the Tang Core documentation for additional solutions.
If you encounter a new issue, please feel free to provide feedback.
Feedback methods can be found here.
