

 English
 Translate
SLogic32U3 Quick Start
Update history
| Date | Version | Author | Update content |
|---|---|---|---|
| 2026-10-06 | v0.1 | Sipeed |
|
Quick Start
This page takes the shortest path to your first capture. For hardware details see the Hardware Guide, for the full feature set of each host app see the Software Guide, and for problems see the FAQ.
1. Unboxing
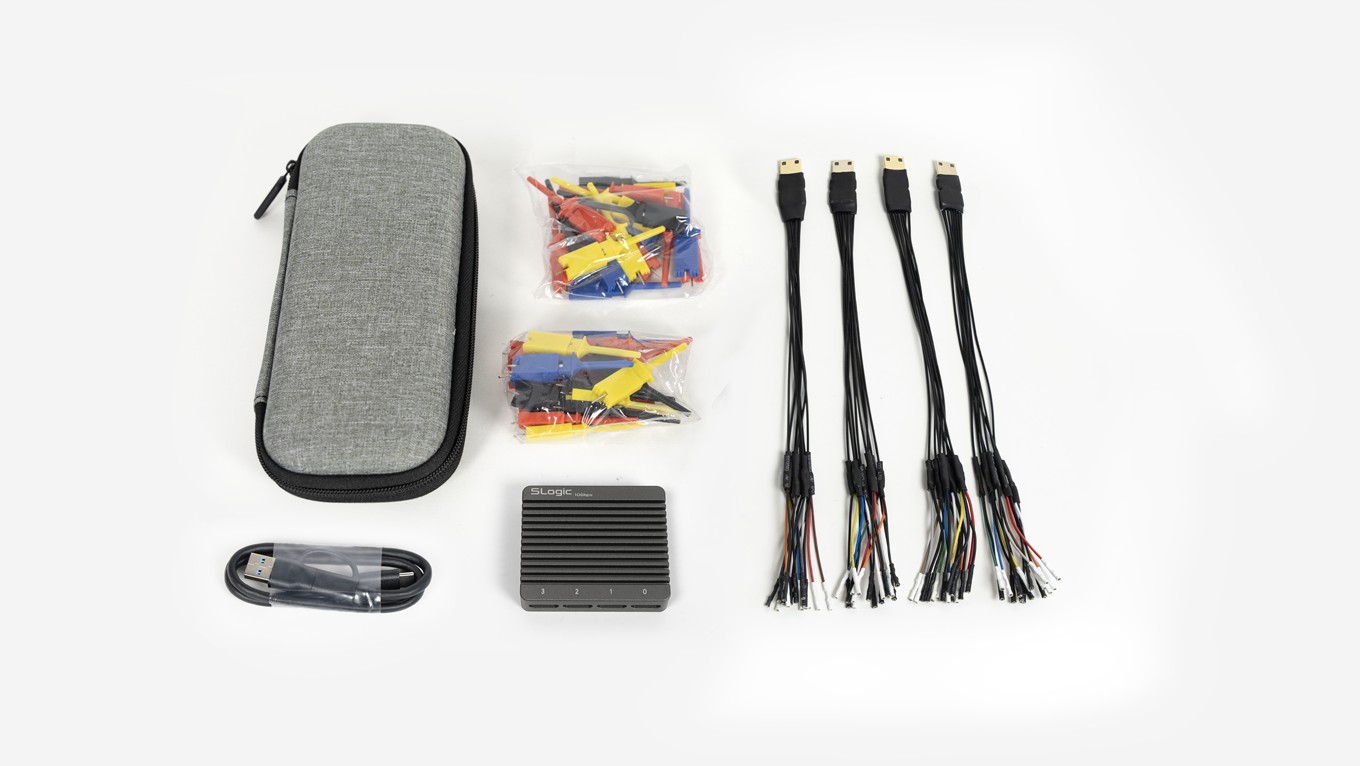
The box contains:
| Item | Qty | Notes |
|---|---|---|
| SLogic32U3 unit | × 1 | CNC aluminum enclosure |
| Mini-HDMI coaxial probe cable | × 4 | 15 cm coaxial shielded, 8 channels each, 32 channels in total |
| Logic analyzer test clips | × 32 | one per channel |
| USB-C data cable | × 1 | with a C-to-A adapter |
| Carry case | × 1 | for transport and organizing accessories |
| Labeled heat-shrink tubes | × 32 | numbered, slip them onto the cables yourself to mark channels |
For optional accessories see Hardware Guide · Accessories.
2. Install the software
Several host apps are available for the SLogic32U3. Use SLogicView by default — it is Sipeed's own, maintained GUI and the baseline for this documentation.
Download the package for your platform from the GitHub Release:
| Platform | File suffix | How to run |
|---|---|---|
| Windows 10/11 x64 | SLogicView-SLogic-x.y.z-windows-x86_64.exe |
run the installer |
| Linux x86_64 | SLogicView-SLogic-x.y.z-linux-x86_64.AppImage |
chmod +x, then run |
| macOS (Apple Silicon) | SLogicView-SLogic-x.y.z-macos-arm64.dmg |
open the dmg, drag the app into Applications |
Don't want to install anything? Just open slogic.sipeed.com in a browser — no install, no driver, works even on an Android phone. See Software Guide · SLogicWeb.
3. Drivers and permissions
| Platform | What to do |
|---|---|
| Windows | Nothing. The device is a WinUSB device, plug and play, no Zadig |
| Linux | Required once: install the udev rule, or a normal user cannot see the device. See the Hardware Guide |
| macOS | Usually nothing; if first launch is blocked, allow it under System Settings → Privacy & Security |
4. Connect the device
[!WARNING]
Use a 10 Gbps USB port. The port spec directly determines the capture rate:
- Only a USB3.2 Gen2 (10 Gbps) port can sustain 800 MB/s and reach the rated rate combinations.
- A USB3.0 / 3.1 Gen1 (5 Gbps) port will be clearly below expectation.
- USB2.0 capture is not supported. It will not work on a USB2.0 port.
A 10 Gbps port is usually marked
SS10or10. Blue alone is not reliable — many blue ports are only 5 Gbps. Check your motherboard or laptop spec.
[!TIP]
Prefer a direct USB-C connection. The bundled cable includes a C-to-A adapter for A ports, but the adapter adds insertion loss and lowers signal quality. On a weaker PC this can keep the rate from reaching full speed. Use the USB-C port directly when you can.
Steps:
- Connect the SLogic32U3 directly to a 10 Gbps USB-C port with the bundled cable; avoid unpowered hubs and front-panel ports.
- A cyan indicator (blue+green) means powered and a healthy USB3 link.
- Blue only means the USB3 link is not established, usually a non-USB3 cable or port. See the FAQ.
- Plug the Mini-HDMI probe cables into the channel groups you need; ports 0–3 map to CH0–7 / CH8–15 / CH16–23 / CH24–31. Mini-HDMI is keyed and goes in one way only.
5. Wiring and grounding
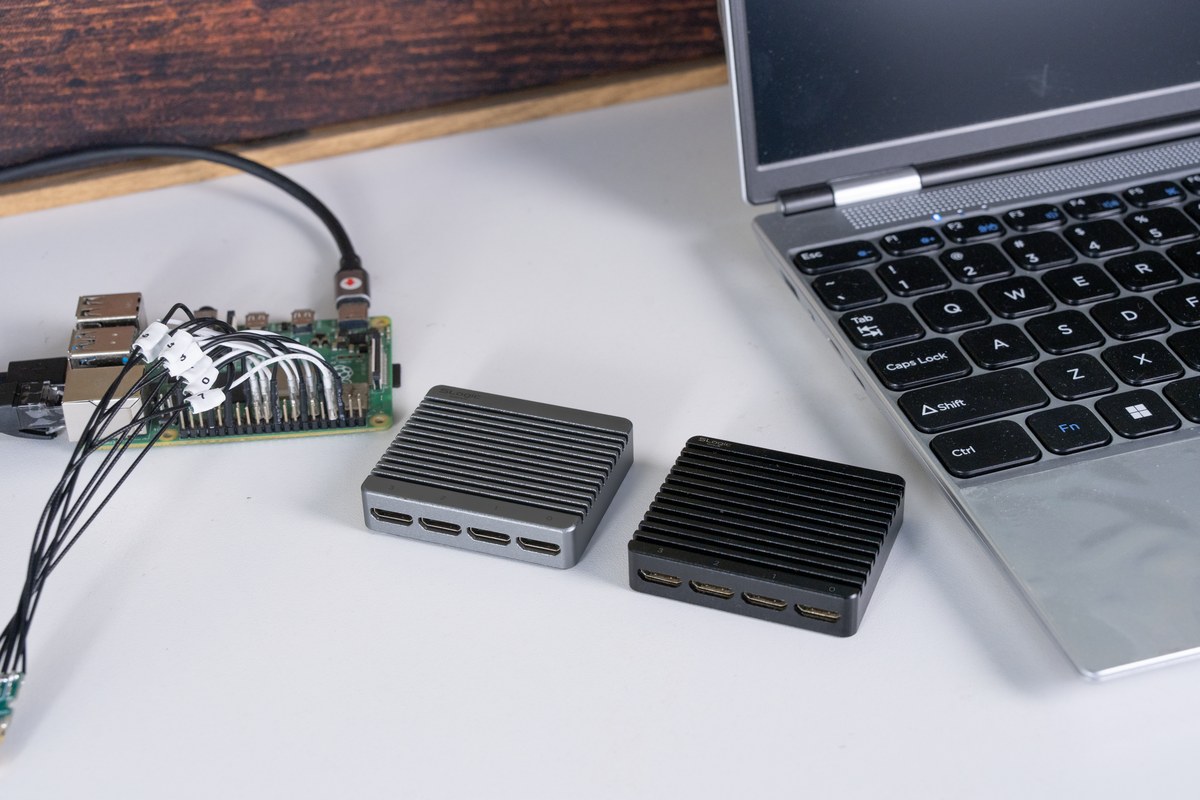
- Each group of 8 probe leads is color-coded in channel order; just count from the first lead. See Channel colors.
- Clip the test clips onto the signals, and run one ground per signal, close by.
- Never tie a ground lead to a signal line — it may damage the device.
- The higher the frequency and the more channels, the more grounding matters. See Probing and signal integrity.
6. First capture
Capturing one UART line, for example:
- Launch the host app and pick the Sipeed SLogic Analyzer device in the top-left.
- Set the sample rate: 10–100× the signal frequency is recommended. For a 115200-baud UART, 10 MHz is plenty.
- Set the capture depth (Samples): try 1 M first.
- Set the voltage threshold: for 3.3 V logic, about 1.6 V.
- Enable only the channels actually wired — fewer channels allow a higher sample rate.
- Click Run to capture.
7. View and decode
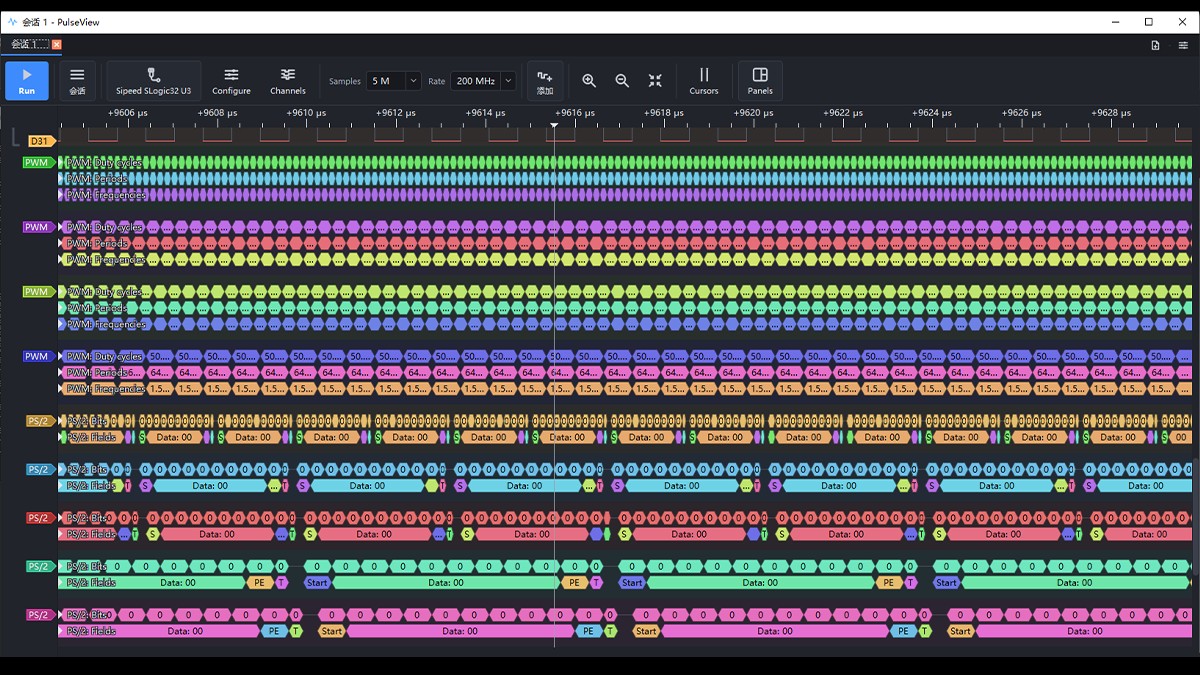
The figures here use PulseView screenshots from the same code base; SLogicView works the same way. They will be updated to SLogicView screenshots in a later revision.
- After capture, zoom with the scroll wheel and pan by dragging with the left button.
- Click Add protocol decoder on the toolbar and choose
UART. - In the decoder settings, map
RXto the wired channel and enter baud 115200, 8 data bits, no parity, 1 stop bit. - The decoded result is overlaid as annotations below the waveform.
8. Next steps
- Hardware interfaces, accessories, indicators, firmware update, signal integrity → Hardware Guide
- Differences between host apps and the web app, triggers, decoding, command line → Software Guide
- GPU acceleration and mixed-signal analysis → ngscopeclient
- Let AI run capture and decoding for you → SLogic with an AI Agent
- Troubleshooting → FAQ